
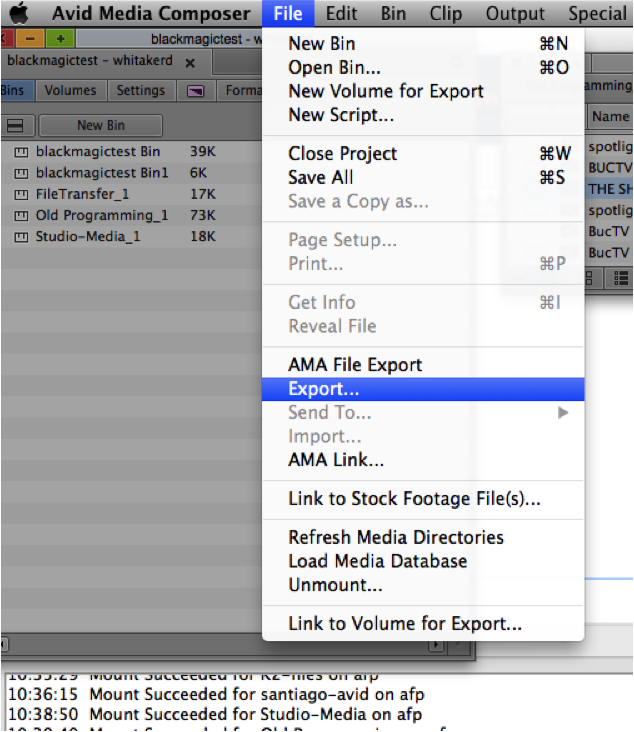
- Select the timeline that you want to export and click File -> Export…
- The Export As… window will come up.
- Name your file
- Select Where you want to save the file
- Select Export Setting: Send To QT Movie
- Click Options…

- Next the Export Settings – Send To QT Movie window will come up. Make sure your settings match the below screenshot
- Select Custom
- Select Video and Audio
- Video Format should be 1920 x 1080
- Color Levels should be 601/709 (RGB is for exporting a file for a computer monitor rather than video monitor)
- Display Aspect Ratio should be set to Native dimensions (1920 x 1080)
- Click Format Options…

- Movie Settings window will come up.

- Click Settings…
- Choose 264 as the Compression Type and leave other settings as their defaults and click OK.

- This will get you back to the Movie Settings Make sure Sound is checked and click Settings…

- Sound Settings window will open. Change the Rate: setting to 000 Khz. You may leave all other settings as default. Click OK.

- Click OK on the Movie Settings window.

- Click Save on the Export Settings – Send To QT Movie

- Click Save on the Export As… window. Your file export should now begin.

0 Comments